

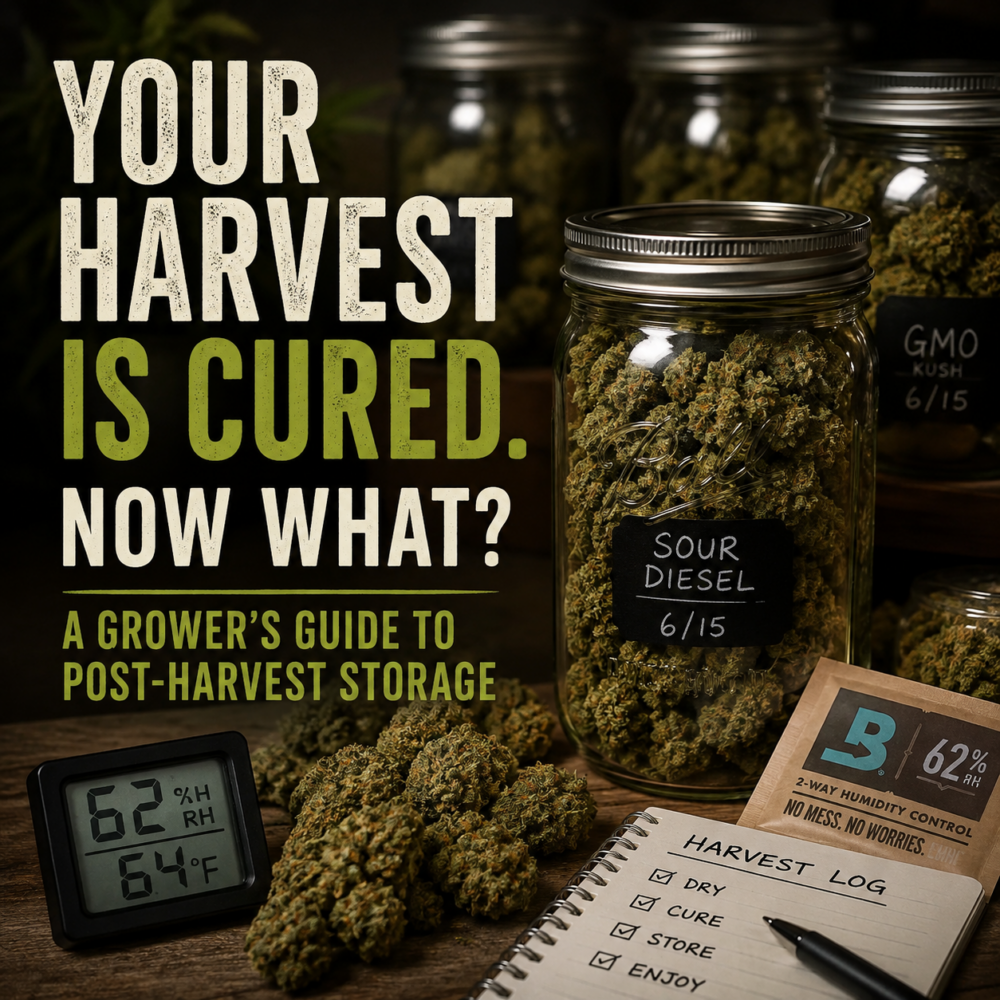

You put weeks into the grow, days into drying, and another two to four weeks into curing. That is a serious time investment before your flower is even ready to use, and it is also exactly why storage deserves as much attention as the grow itself. A lot of growers put real care into the cultivation and cure, then toss the finished product into whatever container is on hand. That is where a lot of hard-earned quality quietly disappears.
Here is what actually matters once your jars come off the burp schedule and go into long-term storage.
The Cure Isn’t the Finish Line
By the time your buds have gone through a proper cure, the moisture content and terpene profile are about as good as they are going to get. That is the peak. Everything from this point forward is either maintaining that peak or losing it, and the storage setup you use afterward decides which one happens.
This is easy to overlook because curing gets so much attention in grow guides, while what happens after the cure gets treated like an afterthought. In reality, poor post-cure storage can undo weeks of careful drying and curing work in a matter of months.
The Three Things That Degrade Cured Flower
Oxygen exposure. Even after curing, cannabinoids continue to oxidize when exposed to air. THC slowly converts to CBN, and while a small amount of this is normal aging, a poor seal accelerates it significantly. If you are opening and closing storage jars frequently, or using containers that do not seal well, you are introducing fresh oxygen every time.
Light exposure. UV and even regular ambient light break down terpenes and accelerate cannabinoid degradation. Clear jars might look nice on a shelf, but they are actively working against your cure. Dark glass or opaque storage matters more than most growers realize.
Humidity swings. You spent weeks dialing in humidity during the cure. Inconsistent post-cure storage undoes that work fast, either drying flower out and making trichomes brittle, or letting humidity creep too high and risking mold on flower that made it through the entire grow cycle without issue.
What This Looks Like for Growers Storing in Bulk
If you are growing enough to store multiple jars at once, a few extra considerations matter:
- Container sizing. A jar with too much empty headspace gives oxygen more room to work. Match container size to batch size where possible instead of using one oversized jar for a partial harvest.
- Rotation discipline. Label and date jars, and use older batches first. This sounds obvious, but it is the single most skipped step in home storage setups.
- Separate strains, separate containers. Mixing strains in one jar is not just a preference issue, it can also mean uneven cure and storage conditions across different bud densities and moisture levels.
Building an Actual Storage System
The growers who get the best long-term results treat storage as its own step in the process, not an afterthought to curing. That usually means using proper herb storage methods designed specifically for this, with airtight seals, UV-blocking glass, and consistent conditions, rather than repurposing whatever containers happen to be around the house.
It does not need to be complicated. It just needs to be consistent, dark, sealed, and sized appropriately for what you are storing.
Bottom Line
The grow and the cure get most of the attention, and for good reason, they are where the real skill is. But storage is the step that protects that work long-term. Get it right, and a harvest you are proud of on cure day still smells and hits the same way six months later. Get it wrong, and you are slowly giving back everything you worked for during the grow.
Everything above starts with what you put in the tent. If you are planning your next run, browse our cannabis clones for sale to start it from verified, clean genetics.

